components you have already used.
first one and then the other,
back and forth.
with all of these:
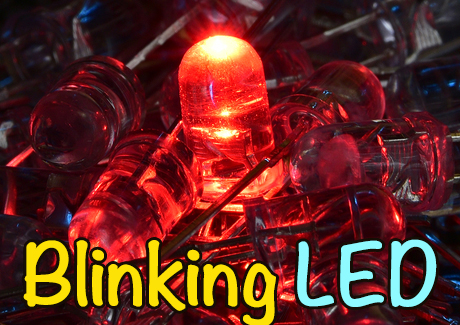
the LED,
the resistor,
the battery
the transistor
for each part to read
the circuit diagram
for your flip-flop circuit.
capacitor
An electrolytic capacitor is a ONE-WAY part.
The transistor acts as an electrically controlled
switch with no moving parts.
transistor
470 & 10K ohm resistors
as shown in the circuit diagram.
You can use the breadboard
layouts in steps 2-8 to position parts,
as shown on the next slides.
There are many ways to layout
a circuit board.
has a PLUS and MINUS lead.
The shorter MINUS lead is marked
with a bar that is labeled
with a minus sign.
from each of
the four resistors
(470 Ω, 10k Ω, 470 Ω, 10k Ω) into a hole in the
positive power strip.
Insert the other lead
of each resistor
into a breadboard hole, as shown.
of the BC547 transistors.
should be connected
through the breadboard
to a 10k resistor,
as in the circuit diagram.
were created using Fritzing,
free software you can use, too.
to wire the emitter (e) prong
on each transistor
to the negative power strip.
A black wire is used
to indicate a (-) or
ground connection.
one LED to a 470 ohm resistor.
Insert the shorter, negative lead
of the LED to the collector (c)
of the nearest transistor.
Connect the second LED in the
same way to the other transistor.
negative lead of the capacitor
to the base of one transistor.
Connect the other lead of the
capacitor to the collector (c)
of the other transistor (blue wire).
Use the remaining capacitor
to make a mirror image connection.
That is, connect its negative lead
to the base of the remaining transistor
and its positive lead to the collector (c)
of the other transistor.
battery to
the power strip
on the breadboard.
first one, then the other, back and forth?
If not, check your connections.
The POSITIVE lead
on the LED connects
to a 470 ohm
resistor.
each electrolytic capacitor
must connect to the base
of each transistor.
multimeter
to check
the resistor
values.
with two 5k resistors. What changes?
Try two 20k resistors, instead.
How is this different?
resistor with an LED.
Be sure that the + end
of each LED is connected to
the + terminal of the battery.
What happens now?
Repeat step 9 to vary the
frequency of the flashing.
THIS CIRCUIT
WORK?
Remember, it is an electrolytic capacitor and
can be connected in only one direction.
Two transistors are present.
As one turns on, the other one turns off.
This give you the flip-flop or alternating
flashes of the LED.
gives a detailed explanation of how this circuit works.
Don't worry if you do not understand the explanation at once. Much of learning is like that.
It makes more sense as you repeat it.